Site change--a photo essay by Debbie
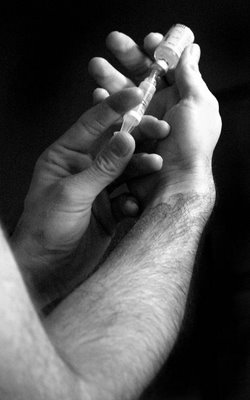 OK, this first image has nothing at all to do with the Guardian. I’m loading my Cosmo cartridge with insulin, but I just loved the image so much I had to post it. One of the issues facing diabetics who use both pumps and Guardians is whether or not to change sites for both machines on the same day. On one hand, it makes sense to do them on separate days. The reason for this is that there is a two hour window after insertion while the sensor is initializing where it does not work. If something also went wrong with your pump you might like to have the Guardian on the job. On the other hand, how many days per week do you want to get up and stick stuff into your body?
I suspect many users will do what I did. The Guardian happened to arrive on a site change day, so I opted for all-at-once. I’ve had very few pump set problems, and the very few took more like six hours to become a mess anyway. I think I’d rather do it all every three days than have to spend the majority of my mornings messing around with this stuff.

I’ve taken the sensor out of it’s little sack, letting it get up to room temperature first. Here I’m removing the needle guard. You can see it is a big honking needle. I’ve also prepped the skin with an alcohol pad. No IV prep, apparently that will mess up the readings.
Next you peel back the paper that covers the front half of the sensor’s adhesive pad.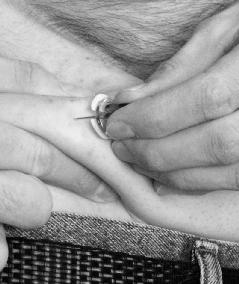
Insertion. Sorry that I couldn’t find someone with a sexier stomach than I’ve got. All the people I know with sexy stomachs declined to have a fat needle stuck into them. Go figure.
Once the needle is fully in and the front tape against the skin, you pull the tab that pulls the backing paper off of the back half of the adhesive. I really like this feature. Quick and easy.
Once the adhesive pad is smoothed against your skin, pull out the guide needle. The sensor stays under the skin and the set is secure on your tummy.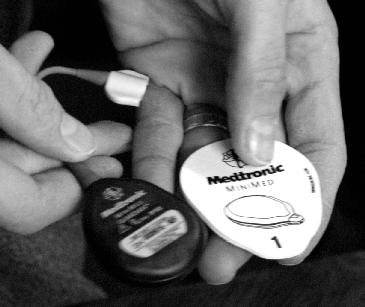
The transmitter pad has double-sided tape. Side one goes against the back of the transmitter...
I set the pad down to center it, and firmly press the transmitter onto the adhesive.
Once affixed, then you peal off the back of the pad and....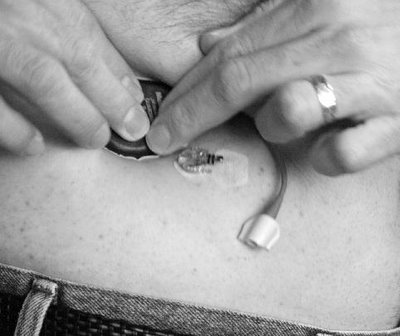
Press it firmly onto your skin. Not shown here, but before I peeled off the backing tape I slid the transmitter around a bit to pick a spot, making sure the wire reached comfortably.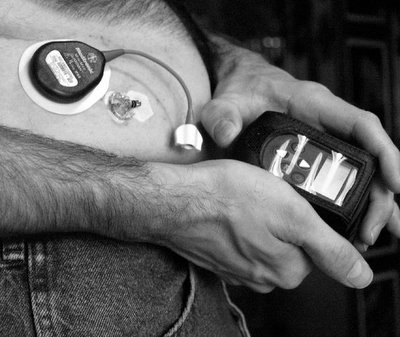
IMPORTANT: Before you hook up the transmitter to the sensor, you need to get the Guardian ready. You put the Monitor in search mode. It is now looking for a signal.
Plug the transmitter into the sensor. Very quickly the monitor will display “Success.” You have telemetry and the monitor is receiving the signal from the sensor. The monitor now starts initializing the sensor, a process that will take about two hours. During that time you will not be getting glucose data. At the end of the two hour period the Guardian will squawk at you, asking for a finger stick to calibrate itself. You need to feed it two finger sticks per day, 12 hours apart to keep in in calibration. More on that in a later post.
Transmitter and sensor ready for action!
You need to cover the seam between the sensor and transmitter with an IV 3000 dressing. The dressing is about the thickness of a piece of skin, and sticky on one side. Kinda tricky to work with if you aren’t used to them. This provides water proofing.
You remove the backing covering the sticky side and smooth the dressing down as best you can, then...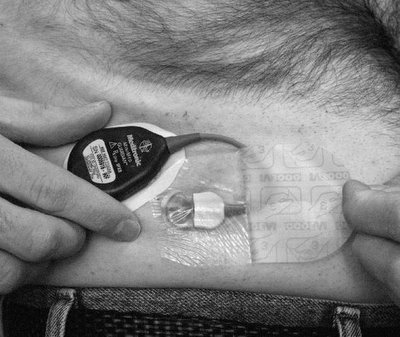
You peal off the top cover of the dressing, just leaving the “skin”
That’s it! You’re good to go for another three days. The monitor is showing a countdown at 2 hours, 19 minutes here. Once you plug in it starts a count down of two hours 20 minutes for the initialization. Based on the two times I’ve done it, it finishes up early. In the upper left is the current time. The funky little symbol below that shows a strong telemetry signal.


0 Comments:
Post a Comment
<< Home